How to accept payments with Woocommerce
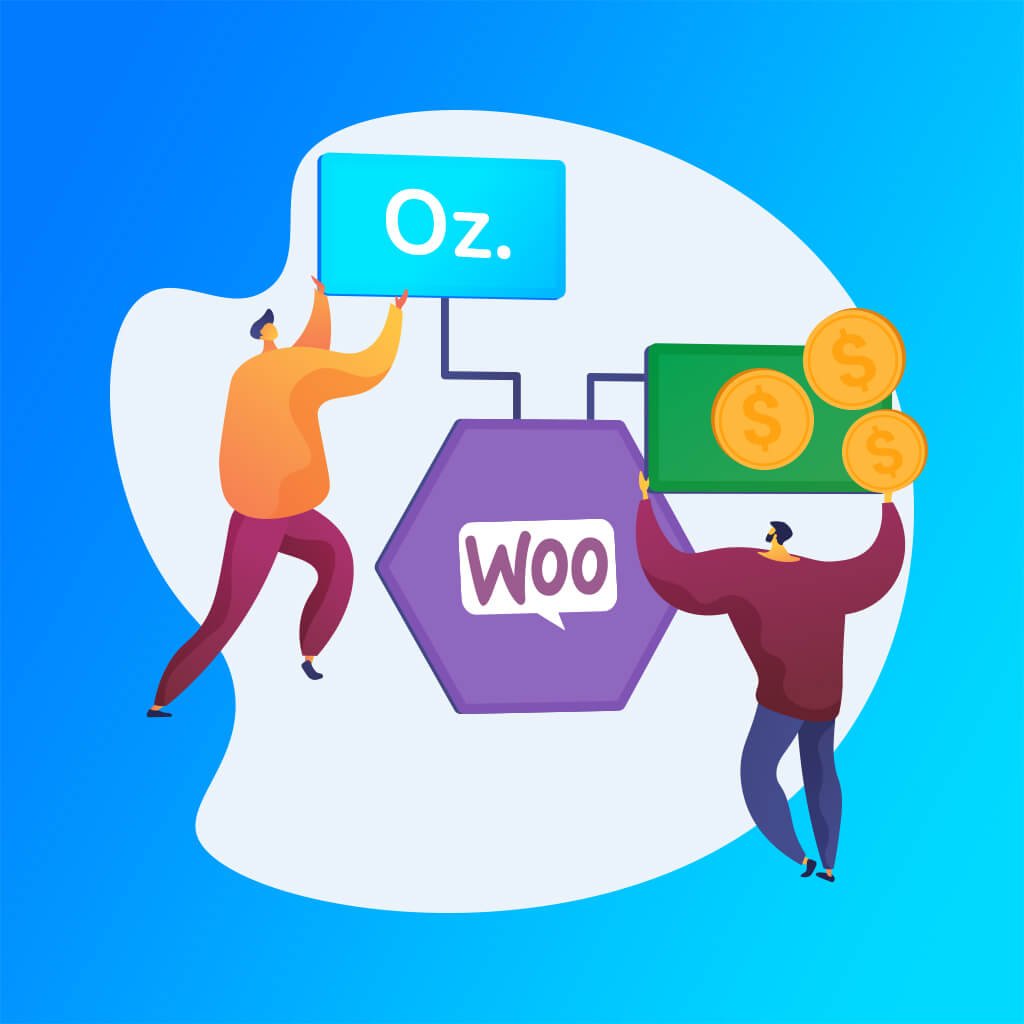
If among the built-in Book an appointment online PRO payment methods there was no suitable one, then Woocommerce comes to the rescue. Woocommerce is a platform for creating online stores based on WordPress. But we are not interested in all the extensive functionality of Woocommerce, but only in part of it – processing and accepting payments.
Because Woocommerce is very popular, so it won’t be difficult to find the payment method you need. First, search the payment method you are interested in in combination with woocommerce word. For example: woocommerce razorpay payment. For this request, there is this plugin. Excellent! This means we will be able to accept payment for appointments that Book an appointment online PRO creates using Razorpay. We download woocommerce (you can download it here), this plugin and move on to the next step.
How to set up Woocommerce integration?
If you haven’t used our plugin yet, we advise you to watch the video about its basic setup on our YouTube channel (don’t forget to subscribe). Open the plugin settings, the Integration tab. We put a tick in front of Woocommerce. If you wish, you can select the settings for changing the booking status (if it differs from the standard setting of statuses), as well as sending an email with the booking data to the client. Using this option, you can either cancel sending emails altogether (the Do not send email option) or select the status in which the email will be sent (for example, you want to send an email about a booking to a user after manually checking woocommerce order and confirmation of receipt of payment).
Once the option is enabled, head over to Woocommerce Products. Our plugin should create a product “Online booking” with a price of 0. Important: this product should not be deleted, otherwise the integration will stop working.

Also check additionally that Woocommerce has a checkout page. This can be seen in the Woocommerce settings (advanced, page settings). Or go to the pages and make sure that one of the pages is marked as Checkout page
After that, set up the payment method (in the example I showed the payment method of Razorpay). Usually plugins create a separate subsection in the left WordPress menu under the Woocommerce tab. After setting up your payment method, you can use it in our booking plugin. In this article, I used the Razorpay payment method as an example. In addition, there are over 50 different payment modules available for Woocommerce. Whether it’s Mollie, Mercado Pago, Worldpay, PayU, PagSeguro and so on.
Well, you can see how the integration looks live in our demo
Back to blog